QGIS is an open-sourced data tool that allows us to view and edit geospatial data. The purpose of this downloadable desktop application is to help visualize information that has been collected in a spatial viewing formation.
Over the duration of using this application, I have learned two critical things. The first is that the tutorials (there are three back-to-back and very simple) I followed for these instructions was straightforward to comprehend. The second is that this application is extremely finicky. In certain areas, the program may require you to shut down the application and start your progress from scratch just to get certain aspects working. This just means that you can’t move fast and you must treat QGIS very carefully to avoid as many errors as you can.
The first section of the tutorial was the easiest part. Once I understood how to add the data and placed all the files in one place, I could input data to give me a plain map.

Looking at this map, you can see that this gives you no information whatsoever. That’s ok! Part two of the tutorial will see us through! The second tutorial shows us some tidbits of information that make the map easier to read. At this point, more information was added, but the map did not change in features. So it will still display an outline, some colors from a gradient we added to splice up the information and make it look slightly less messy.
The third tutorial is where things got tricky for me, and this is where we make our maps look extra fancy by adding photographs of maps! I learned that Georeferencer is an extremely picky application within QGIS. When I first attempted to add points to the map, it did not transfer over well and my map warped as if it was a whirlpool. I did have to go back and complete the tutorials several times, but now I’m a master at following the basic steps!
What your map should look like in Georeferencer is this.
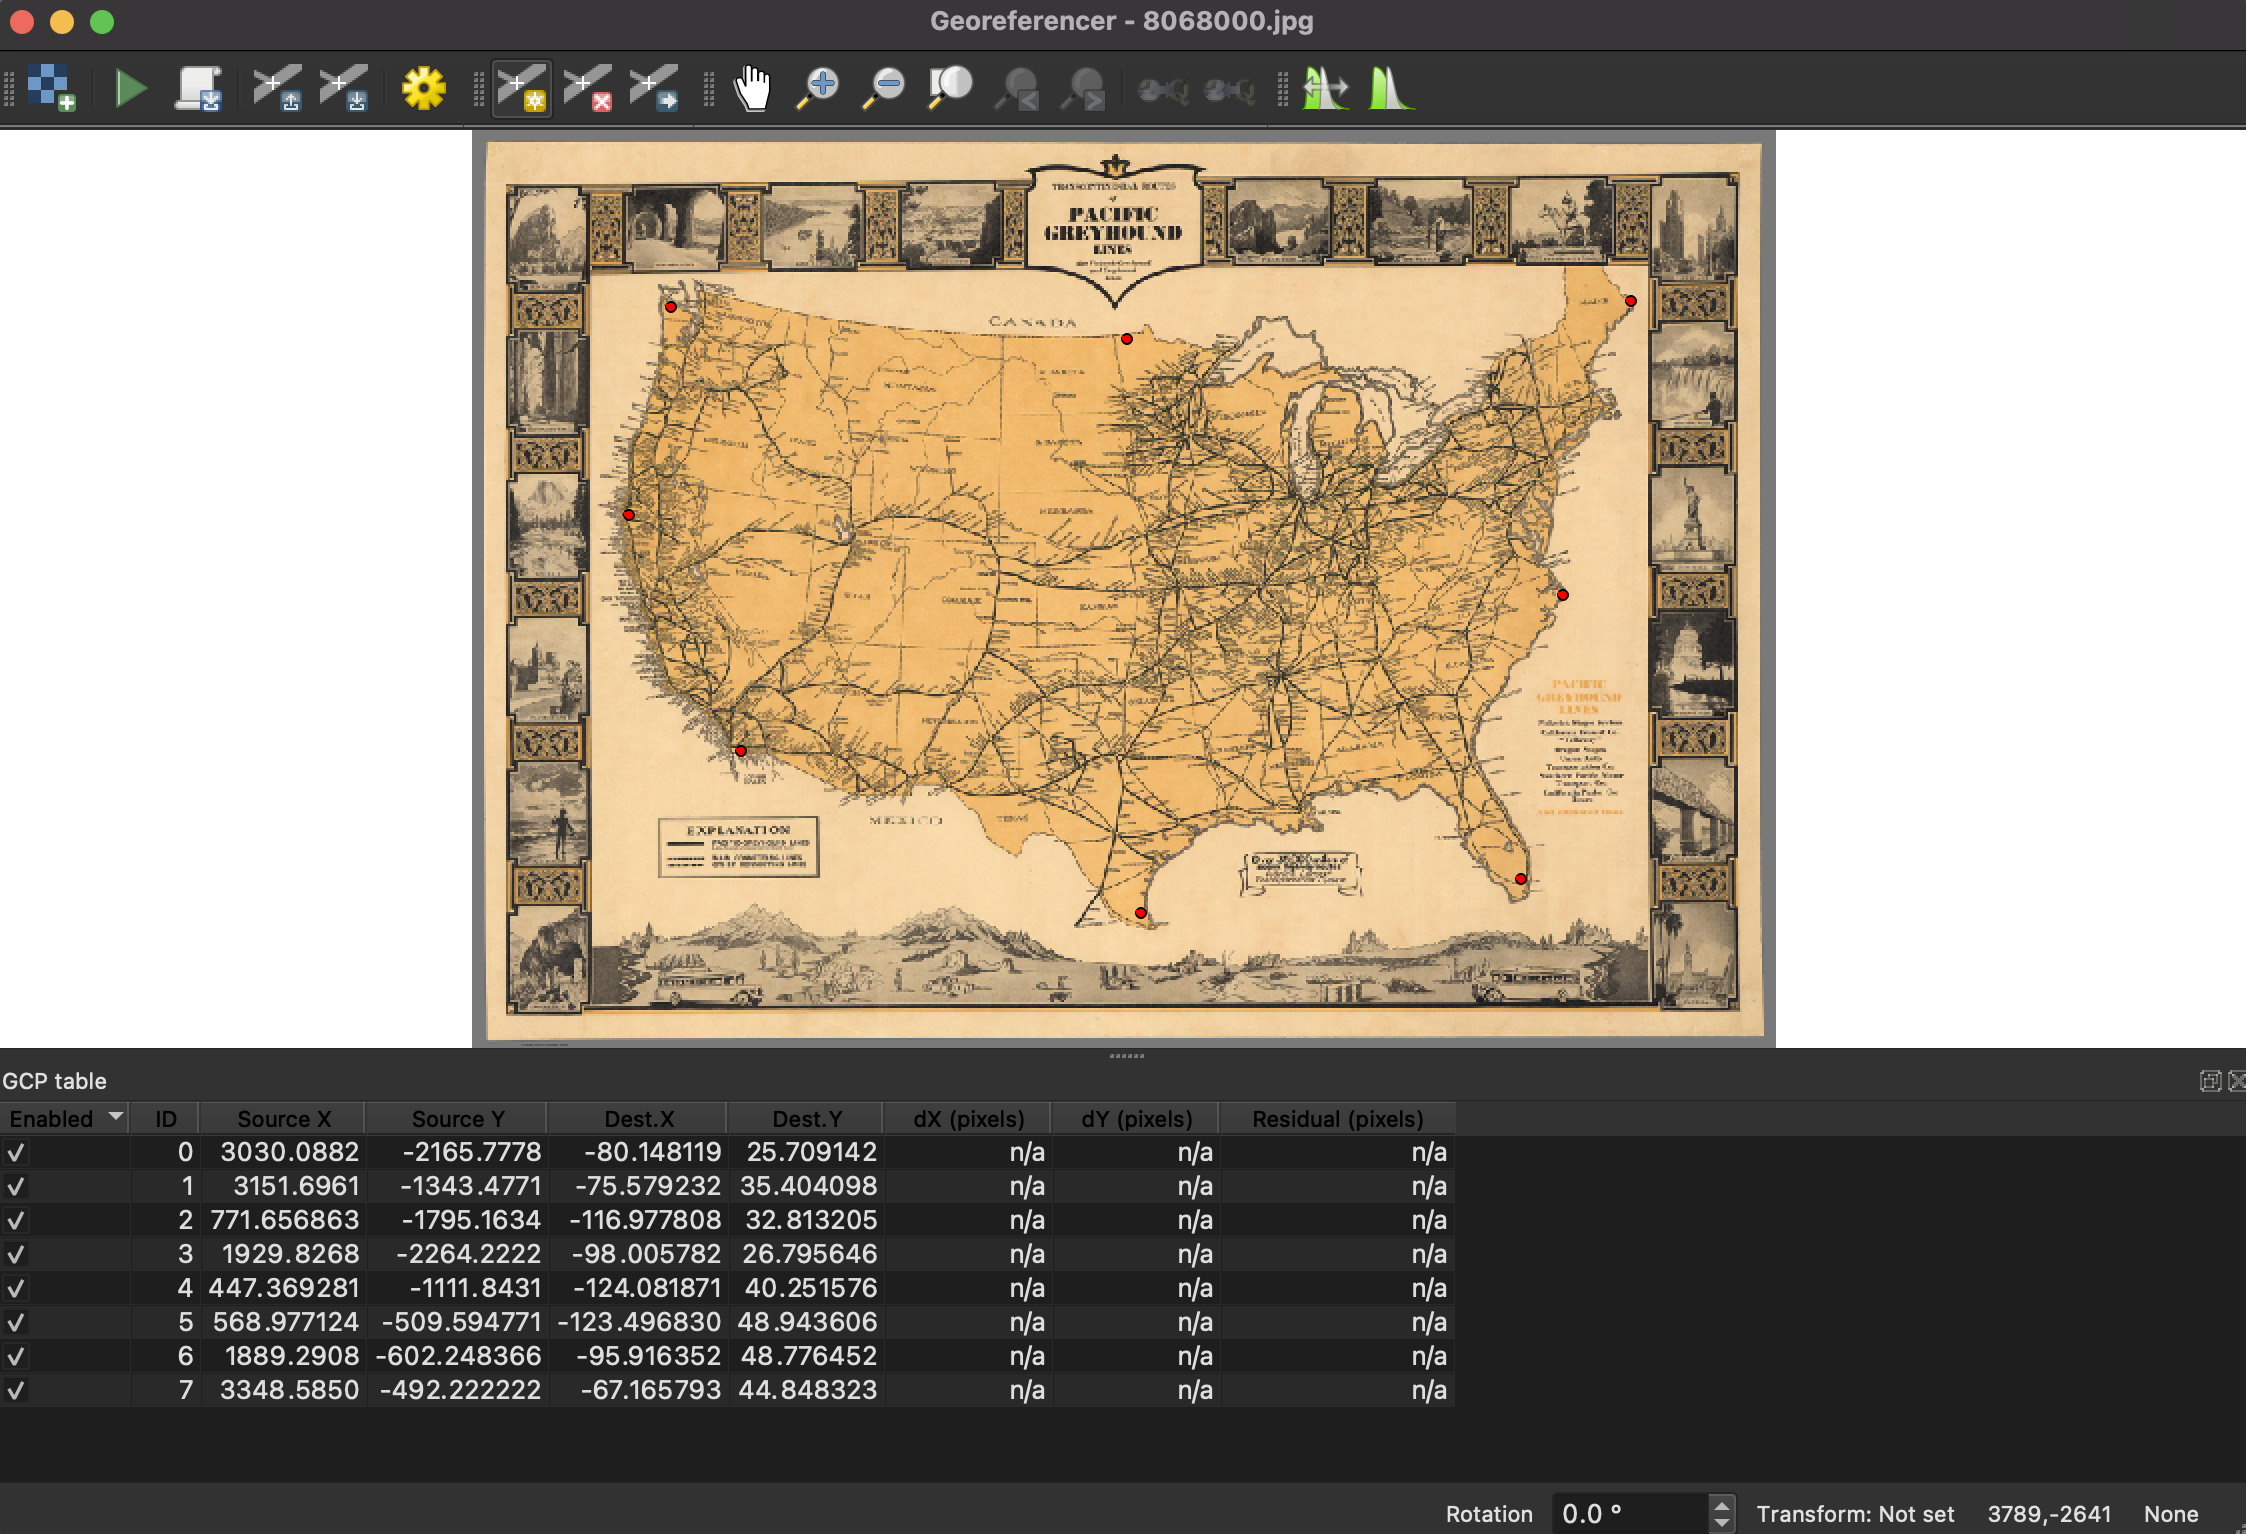
The nice part about this is that when you go to upload the points to blend the map, you can click on the button in the bottom left corner of the pop-up. This will take you to the QGIS map and make it easier to plot points, yay!
Once all those are plotted, you just transfer your map onto the big screen and get this interesting overlay.
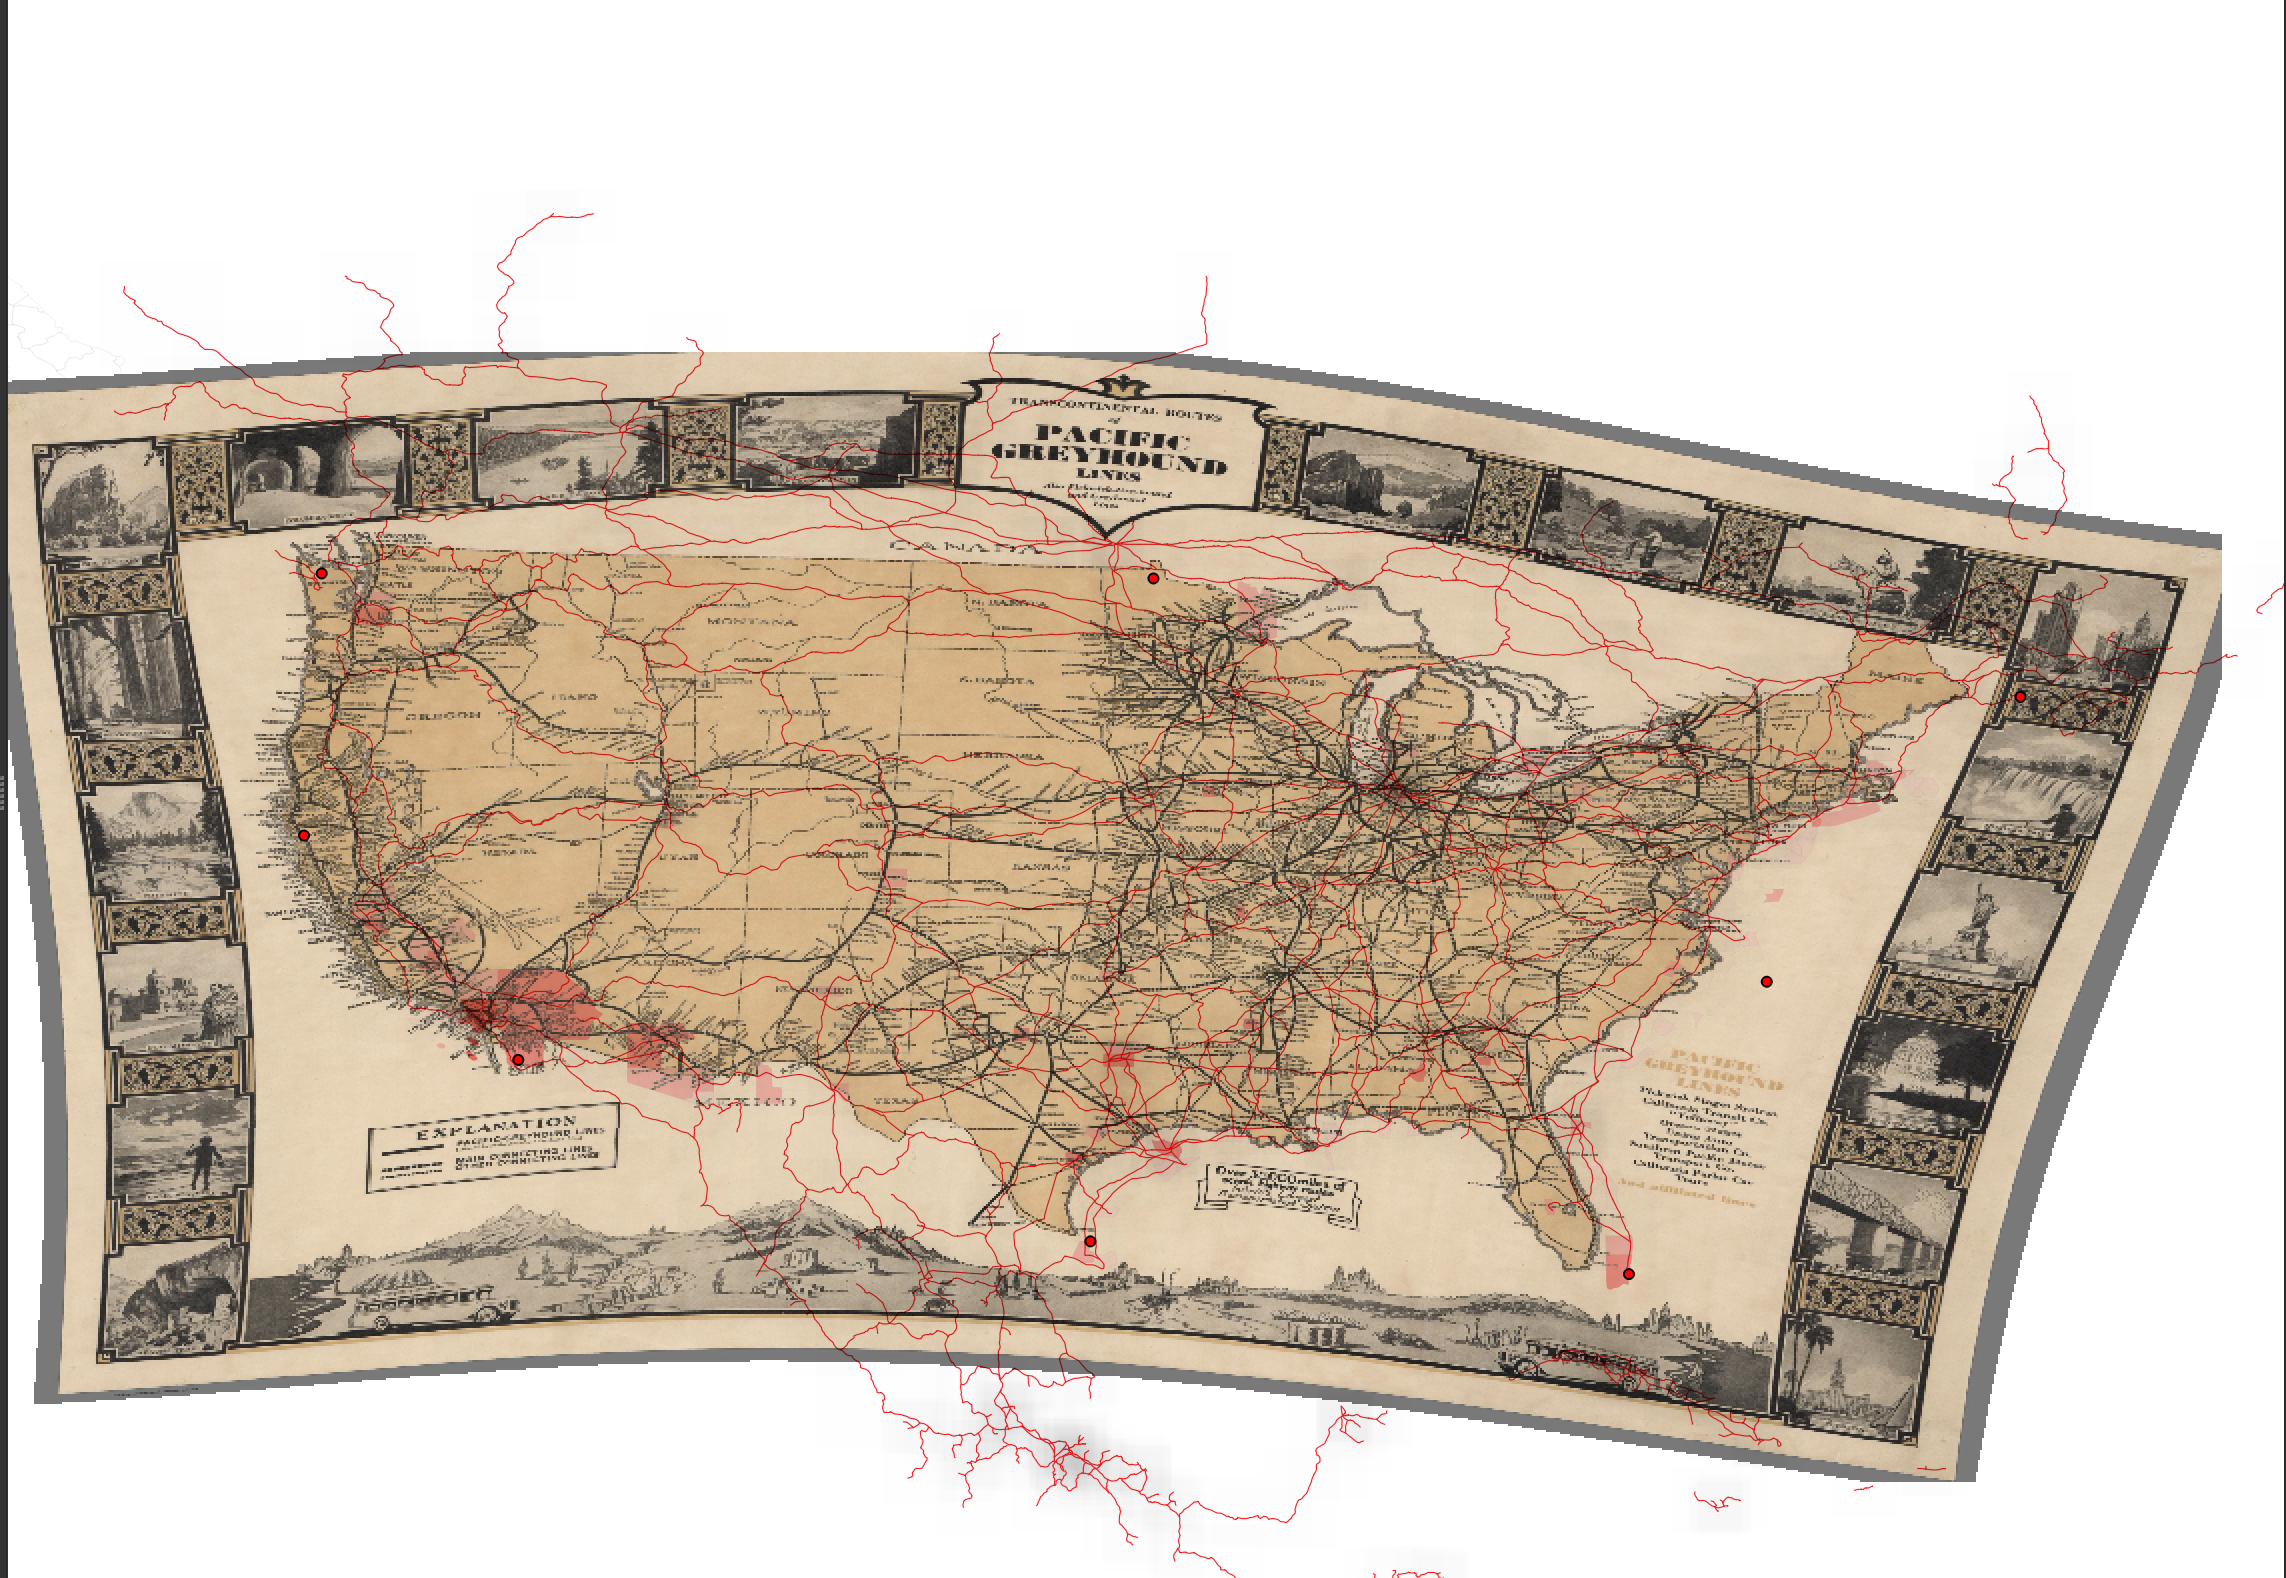
I want to preface, my points did appear to be off, but the map itself blended just fine so I’m sure the application is just being picky. It can happen, so just make sure what you have lined up correctly and you should be fine!
Overall this was a straightforward application to work with. I enjoyed seeing things go right (most when wrong many times) but it is a very picky tool to work with. I think anyone who likes a challenge would enjoy this application!
QGIS download can be found here.
The tutorial with all of the downloads to use QGIS can be found here.
Do keep in mind for the tutorial downloads, some of the links will initially not allow you to download. If you run into this error, make sure that web.archive is deleted in the link in your search bar. This will clear up the issue. Happy geospacing!